STQRY supports different ways to monetize the app content. One of them is selling the tour content on the app stores using in-app purchases.
In-app purchases are extra content that you buy inside an app. You can sell a tour or a collection list as an in-app purchase. We support non-consumable in-app purchases. With non-consumable in-app purchases, you buy these items one time, and you can transfer them to other devices that are associated with your Apple ID or Google Play account. If you lose a non-consumable purchase, you might be able to restore it for free.
Before we start, make sure you set up your payment accounts on Google Play and Apple Store. The instructions can be found here. Also, you would want to check if you are eligible for the small business program with Apple and Google. These programs will help you only pay 15% of the commission to the app stores (the standard rate is 30%).
Your first in-app purchase must be submitted with a new app version, therefore, you should get in touch with your Customer Success Manager to resubmit the app. Once your first in-app purchase has been approved, additional in-app purchases can be submitted without a new app version.
The following instructions are for you to add more in-app purchases after your first in-app purchase already went live. Let's get started!
Recommended In-App Purchasing Workflow
To successfully set up in-app purchases for your STQRY app, follow this workflow:
1. Create a Collection that you wish to sell and make it live in STQRY Builder
2. Create an In-App Identifier in the builder using the Charge for the Content area under Submit
3. Create a coupon code or combine in-app purchases with coupon codes for app payment (Optional)
4. Add your in-app purchase to App Store Connect and submit it for review
5. Add your in-app purchase to Google Play Console and activate it
Prices on Google Play and the Apple App Store may vary slightly due to differences in tax policies between the two platforms and across countries.
How to Create In-App Identifier in STQRY Builder
In this step, we will create an In-App Identifier for the tour/ list content. To do that, simply follow the steps below:
- Go to Projects
- Choose the app you wish you add in-app purchases
- Choose Submit >> Coupons & Pricing >> Charge for the Content.
- Click Add New. Fill out the information including the tour name and the price.
- Hit Save & Close. You can find the In-App Identifier in the Store Identifier column.

How to Set Up a Coupon Code
To combine in-app purchases with coupon codes for app payment, go to the Project >> your app (project) >> Submit tab >> Coupons & Pricing. Use the help article located here for instructions on how to create, manage, and activate Coupon Codes.
Creating a coupon code allows you to temporarily lock content while bridging the time between going live and completing the in-app purchase setup with Apple and Google Play. You can choose to keep the coupon code active after launch or deactivate it once in-app purchases are available in your app.
How to Add Your In-App Purchase to App Store Connect
- Log in to Apple Store Connect
- Go to Monetization >> Click In-App Purchases
- Click (+) sign

- Select Non-Consumable
- Enter the Reference Name as the Tour Name or Collection List Name. Enter the Product ID as the In-App Identifier. Hit Create.

- Fill out the in-app purchase form
- Choose the in-app purchase availability.

- Set up a price in Price Schedule. Either in your currency or USD. Learn more about app or in-app purchase pricing.

- Fill out App Store Localization. This will be available on the app listings on Apple Store. You can opt to use the same tour name for the Display Name and the Description or use different names.

- Upload a screenshot of the tour with the Start Tour button showing on iPhone 6/7/8 Plus. You can use the Developer Tools on Chrome to take this screenshot.
- Type in a message in Review Notes. You can simply say "Thank you".

7. Scroll up and click Save to commit the change.
8. Once all details are completed, you can now click Submit for Review. You should check back in after 24 hours and get in touch with us if you need more assistance.
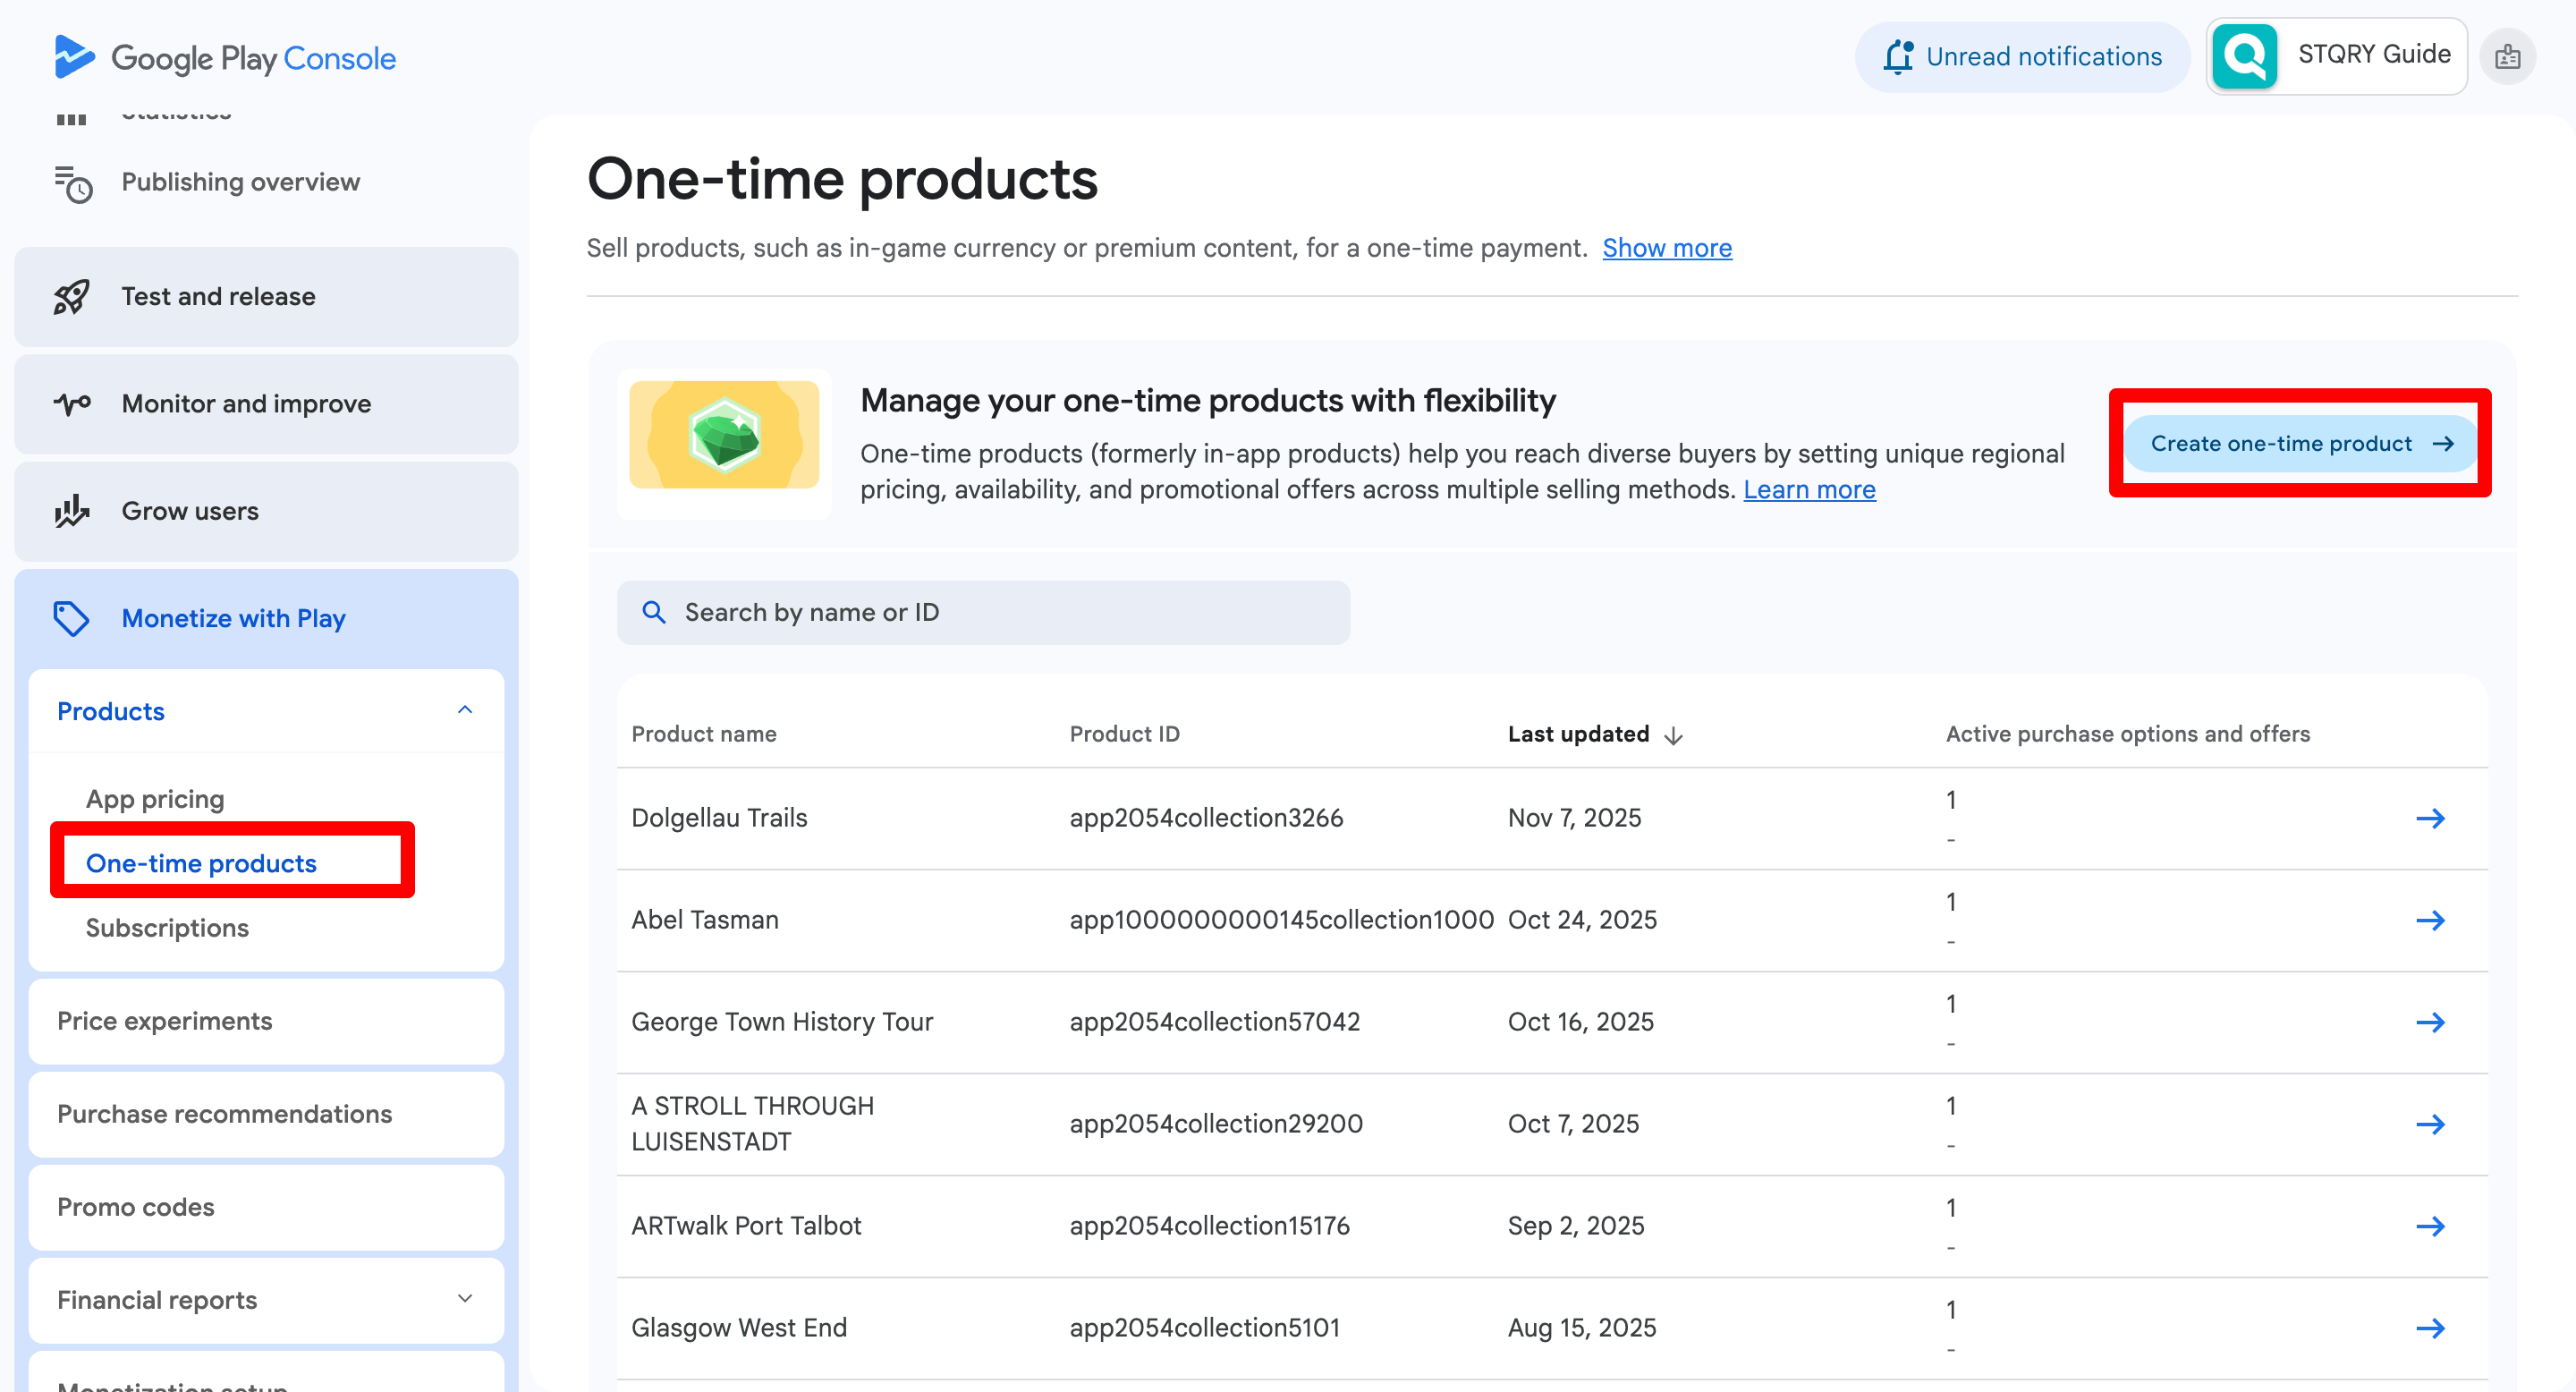
How to Add Your In-App Purchase to Google Play Console
- Login to Google Play
- Click the app >> Monetize with Play > Products > One-time products
- Click Create one-time product
4. Fill out the in-app product form.
- Fill out Product ID as the In-App Identifier

- Fill out Product details as the Tour name

- Set up a Price. You can fill out your wanted number or pick up a price from the pricing template. With a pricing template, you can sell your tour including tax.

- Click Save.
5. In the Tax, compliance, and programs, configure the tax and compliance settings.
6. Click Next.
7. In the Purchase option section, enter the following details:
- Enter the Purchase Option ID.
- Select a Purchase type: Buy
- (Optional) Enter Tags
- (Optional) Click Advanced options to view and set the advanced configuration options:
8. Configure the regional availability and pricing.
9. Click Activate.
Both Google and Apple support discounted pricing for in-app purchases. You can find more details in their developer help articles: Google and Apple.How to Delete In-App Purchasing
Here's a breakdown of how to delete in-app purchases you no longer want to offer:
Apple
If you want to delete an in-app purchase item you will need to:
- Click on the in-app purchase item in the list
- Choose Remove from sale under Availability
- Hit Save to commit the change.

- Click on the in-app purchase item in the list
- In the top right, choose Deactivate

STQRY Builder
- Navigate to Projects → select your app → Submit → Coupons & Pricing.
- Locate the in-app purchase you want to disable.
- Toggle the status button to Inactive.

Notes: Besides in-app purchases, we can also monetize the app by selling the app content, which people just need to pay one time to access the whole app and lock the content using coupon codes. Please get in touch with your Customer Success Manager if you need support with these options.
Was this article helpful?
That’s Great!
Thank you for your feedback
Sorry! We couldn't be helpful
Thank you for your feedback
Feedback sent
We appreciate your effort and will try to fix the article