Imagine transforming a simple poster, brochure, or exhibit label into an instant gateway to rich, immersive content. QR codes are the digital bridges that connect physical spaces with your STQRY app's storytelling experience.
Understanding QR Code Functionality
QR codes are the secret passages of digital storytelling. They transform ordinary physical spaces into interactive experiences that bring content to life right in the palm of your hand.
STQRY's QR code system makes sharing your content incredibly simple. With just a few steps, you can create instant access points that connect visitors directly to your tours and exhibits.
The system works by adding a built-in scanner button to your app. You can choose to place this button on the main view (app level) or create individual QR code access for each tour (tour level). Once you link content under Tabs, QR codes generate automatically.
How to Enable QR Code Function
To enable the QR code function in your app:
1. Log in to your STQRY account.
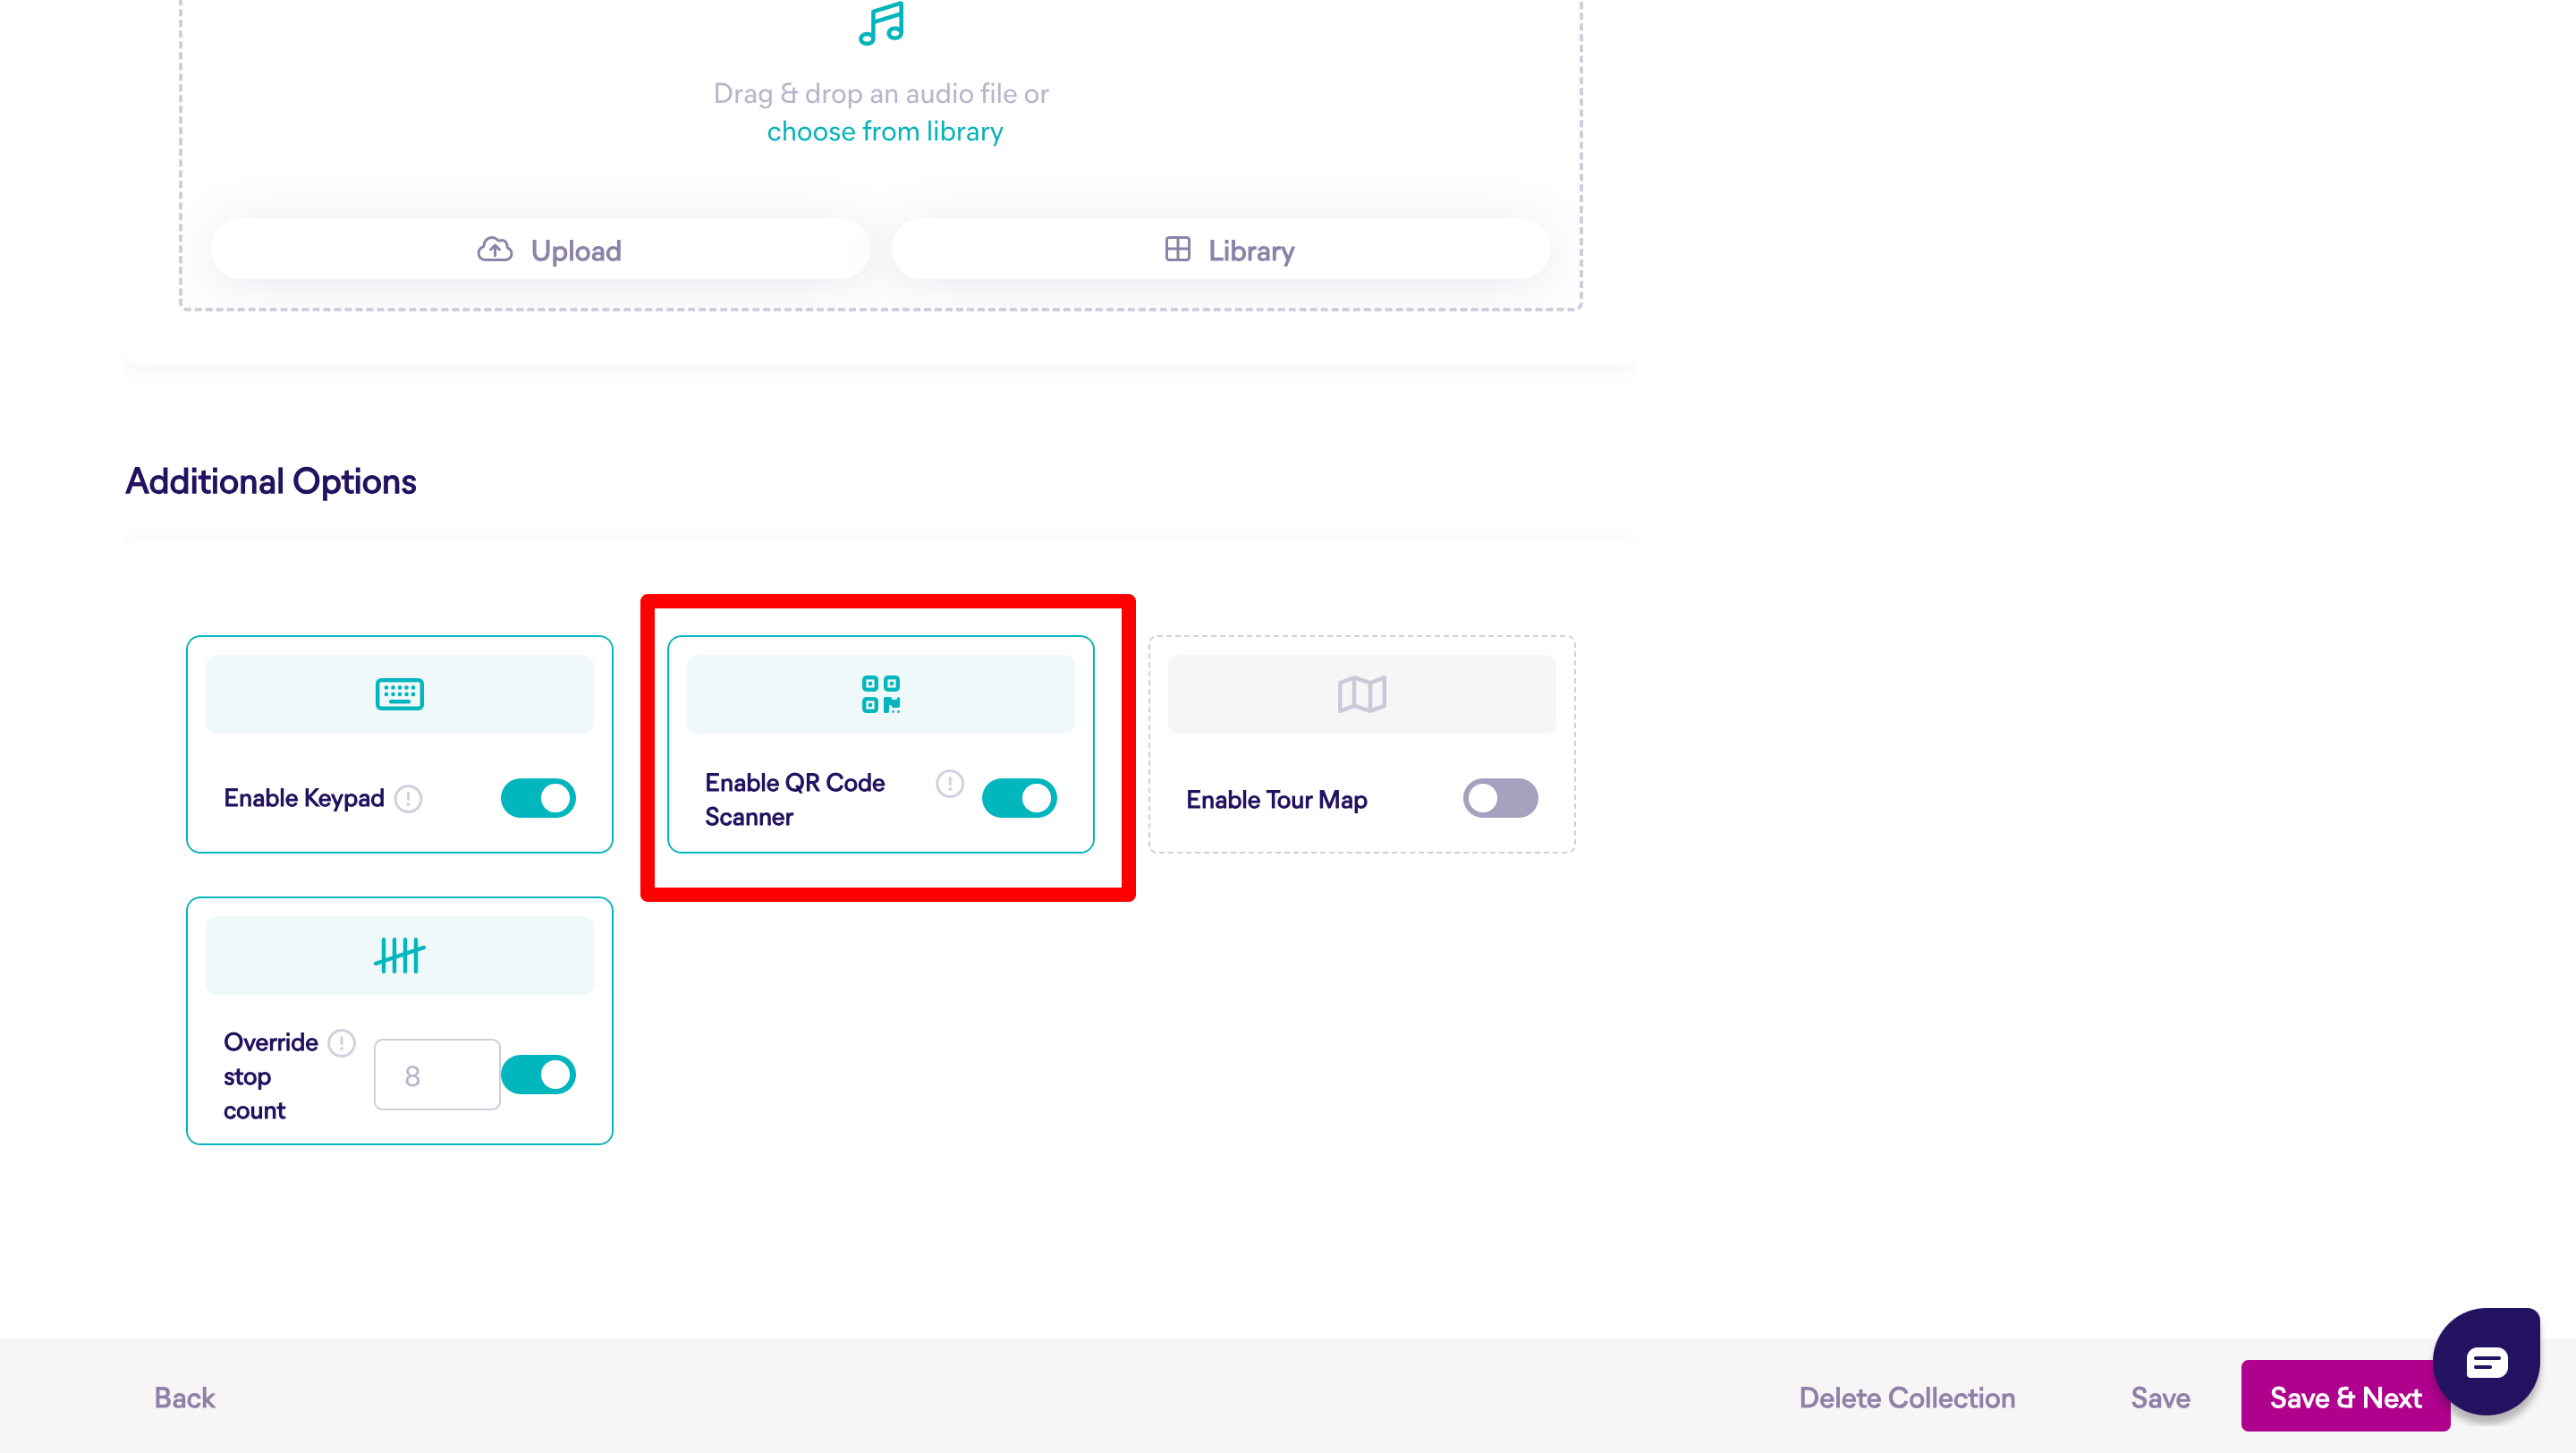
2. Navigate to the Project Overview and toggle "Enable QR Code Scanner" to enable a QR code scanner button for the entire app.

Alternatively, go to a tour Overview and enable "Enable QR Code Scanner" to add a QR code scanner button specifically for your tour.

Linking Content and Generating QR Codes
After enabling the QR code function, make sure you have linked content to the app:
1. Navigate to the Projects section and access the Tabs section within your app.
2. Link the desired content. Follow our instructions here if this is the first time you worked with the builder.
3. STQRY will automatically generate QR codes for the linked content. To find the list of QR codes, navigate to Projects, select your app, choose Submit then QR codes. Download the QR codes by clicking either on PNG or SVG.

How QR Codes Work in Practice
Visitors can scan QR codes using their phone’s camera to instantly access the mobile web version of your app—no downloads or setup required. If the STQRY app is already installed, the content will automatically open in the native app instead of the mobile web version, even if the tour hasn’t been preloaded.
Additionally, when users scan the QR code using the STQRY app’s built-in QR scanner, the content will open immediately within the app, providing an uninterrupted and consistent user journey.
QR Code Deep Linking Enhancements
You can now request QR code deep linking for your app. With this feature, when a user scans a QR code:
- If they haven’t downloaded the app, they’ll be directed to the web app version and shown a banner linking to the App Store or Google Play to download the app.
- If they already have the app installed, the QR code will open the specific content directly within the app for a seamless experience.
Frequently Asked Questions
1. What happens when someone scans a STQRY QR code using their phone’s camera?
They will be directed to the web version of your app in their mobile browser.
2. What happens when someone scans a STQRY QR code using the built-in scanner in the app?
The app will open the exact content linked to the QR code. If the user is on the native version of the app, the content will load seamlessly within the app
3. What if the tour hasn't been downloaded yet, and the user scans the QR code with the built-in scanner?
The app will still load the native tour content, even if it hasn’t been pre-downloaded.
4. What happens if I change my web app’s subdomain after printing the QR codes?
If the QR code is scanned using the built-in scanner within the app, it will still work as expected because the app uses only the URL path, not the full domain.
However, if the QR code is scanned using a phone’s camera, it will try to access the old subdomain. In this case, please contact your Customer Success Manager or reach out to our support team at support@stqry.com. We can update the subdomain on the backend to ensure the QR codes continue to work. Please note that there may be a brief delay when scanning due to the redirect.
5. Will QR codes break if I reorganize my content (e.g., move tour stops)?
No. You can reorganize your content freely without affecting existing QR codes. This gives you flexibility to update and improve your app without needing to reprint anything.
If you have any questions or need further assistance, feel free to contact our support team at support@stqry.com
Was this article helpful?
That’s Great!
Thank you for your feedback
Sorry! We couldn't be helpful
Thank you for your feedback
Feedback sent
We appreciate your effort and will try to fix the article